Sticking It Right: Your Guide to the Hinge Method for Vinyl Graphics
Ever get a cool vinyl graphic and then feel a little nervous about putting it on? You’re not alone! Applying vinyl can seem tricky, especially big ones. But guess what? There’s a super helpful trick called the hinge method that makes it much easier, even for beginners.
It might look a bit intimidating at first, but with a little patience and the right steps, you’ll be a pro at the vinyl hinge method in no time!
Why the Hinge Method Rocks
The hinge method helps you put on vinyl graphics straight and smooth, without a bunch of frustrating bubbles or wrinkles. It’s all about control, letting you focus on one half of the graphic at a time. This specific application technique is a game-changer.
Let’s Do This! Your Step-by-Step Hinge Method Guide:
Before you start, make sure your surface is super clean and dry. No dust, no dirt, no grease! A clean surface is key for a good stick.
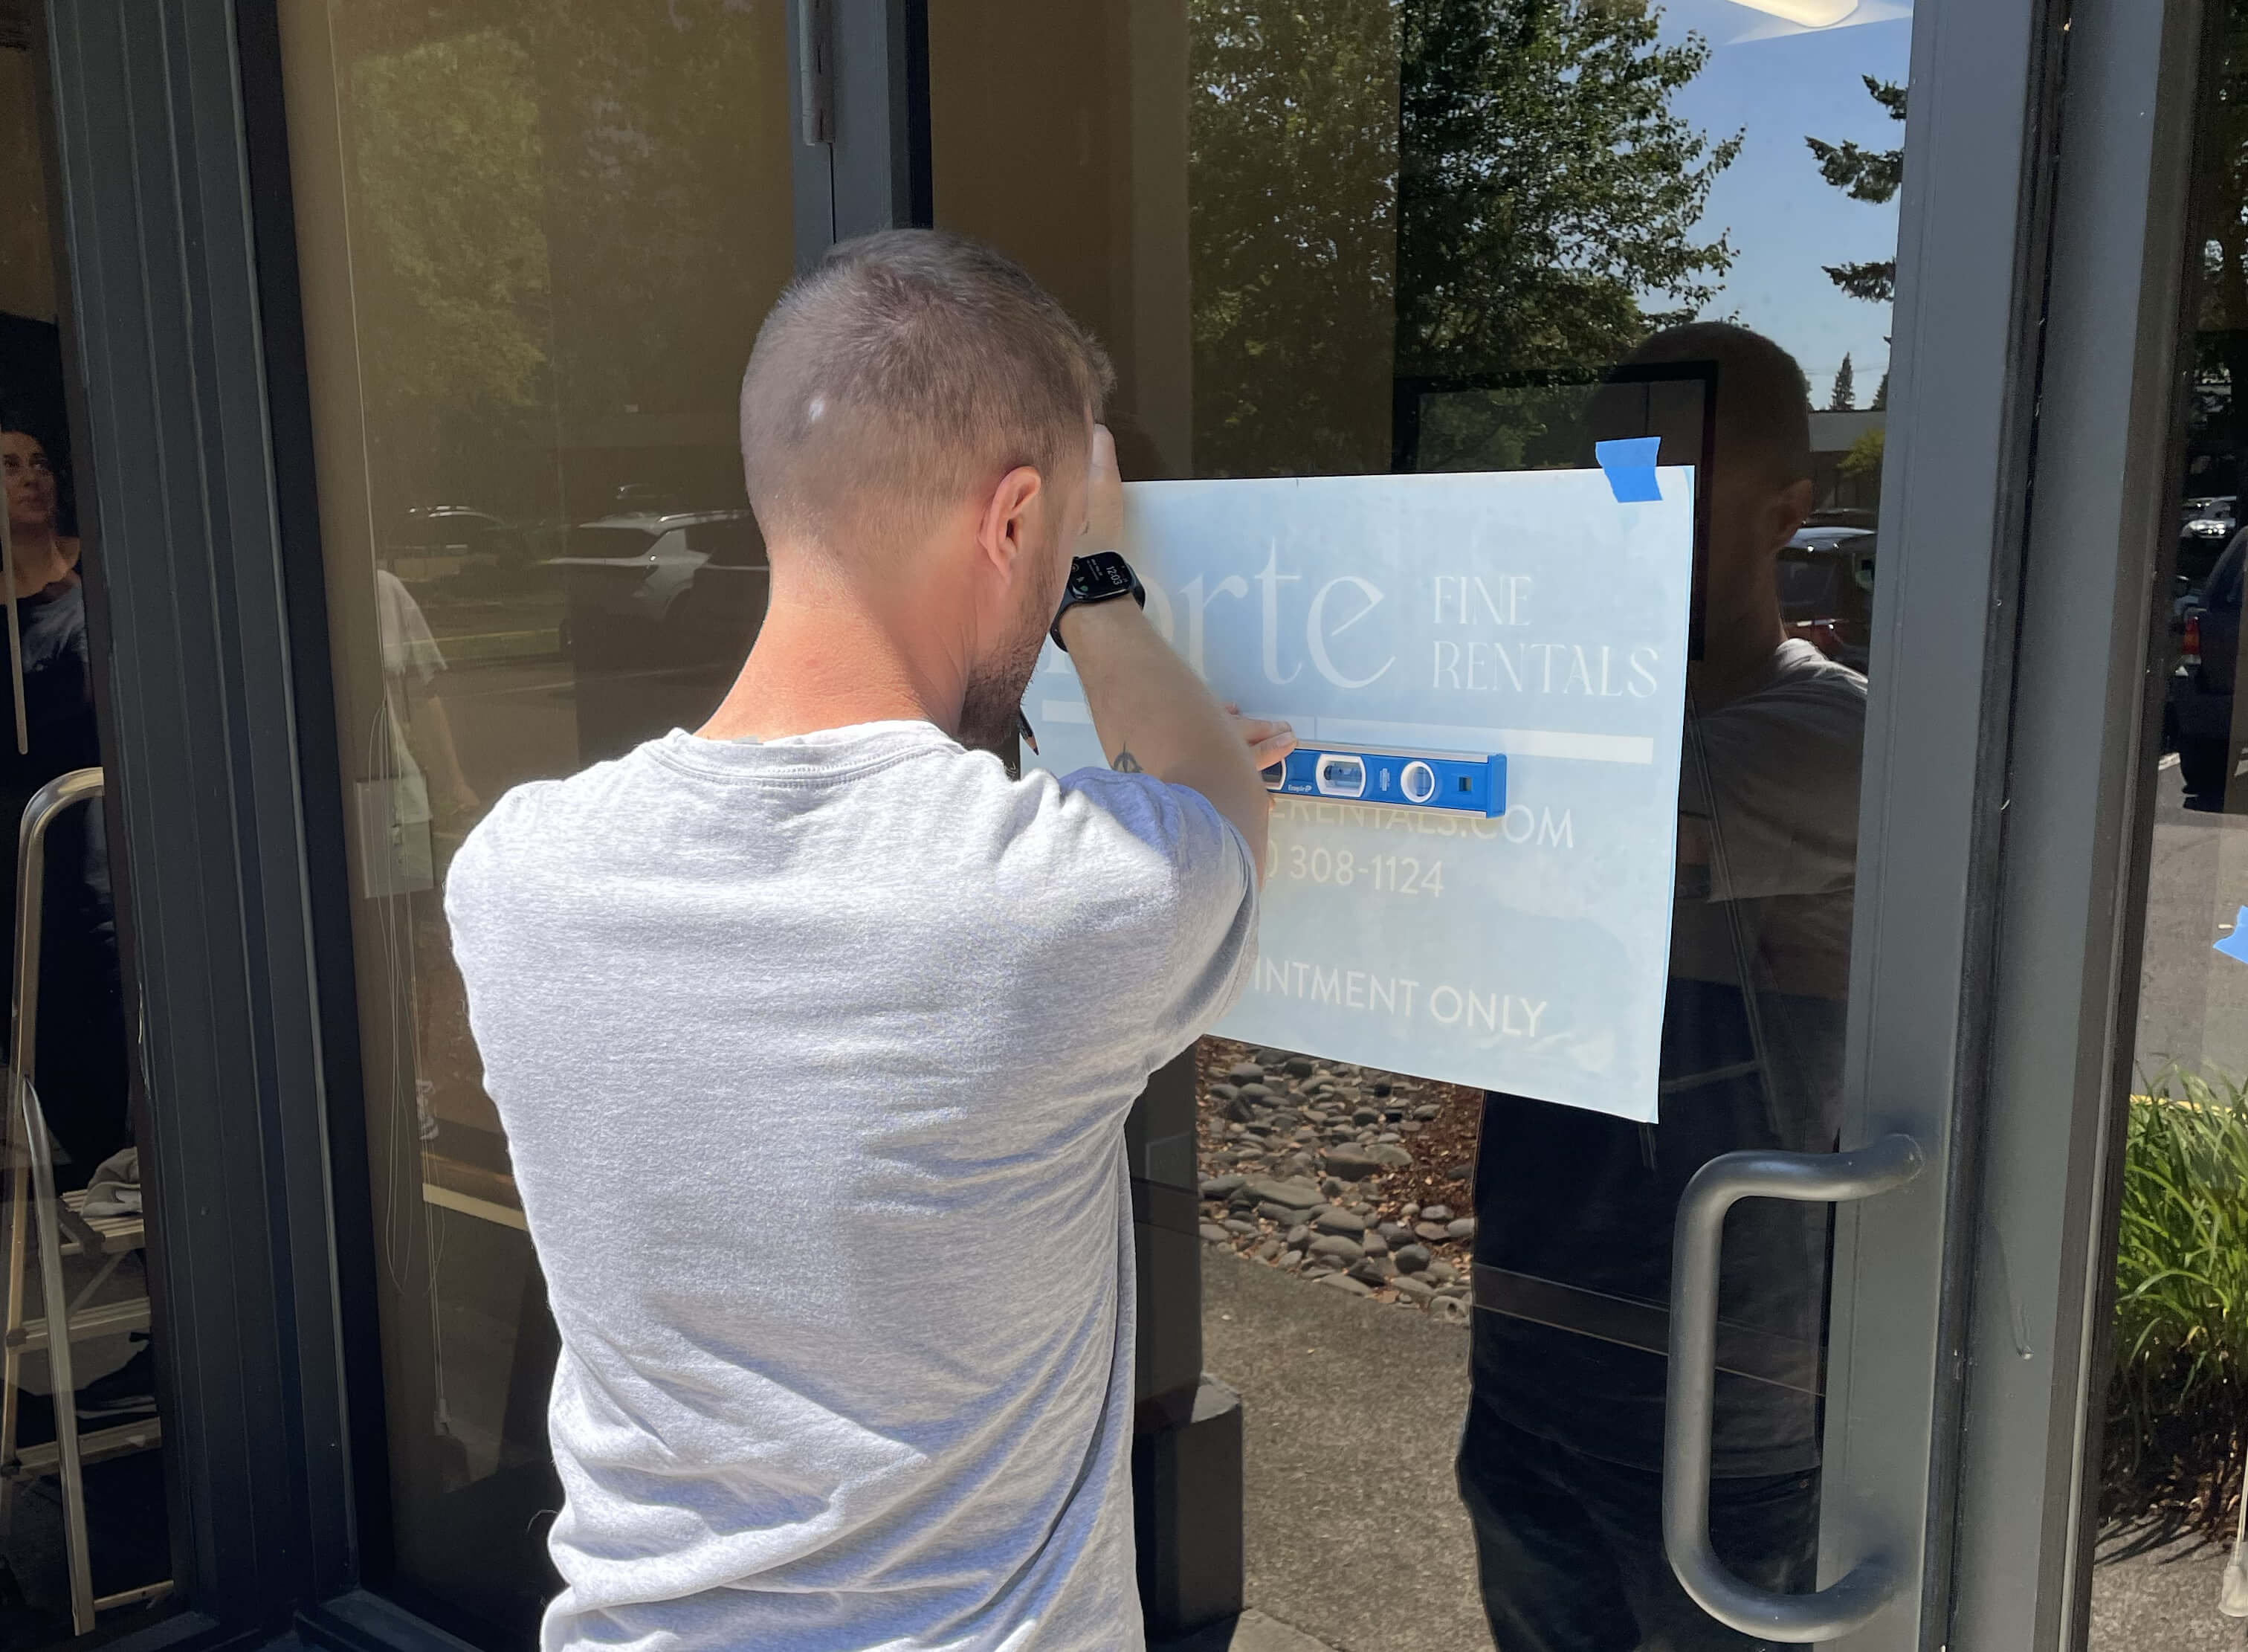
1. Position Your Graphic:
- First, place your vinyl graphic exactly where you want it on your surface. Use masking tape at the top corners to hold it lightly in place.
- Stand back and make sure it’s straight and in the perfect spot.
2. Create Your Hinge:
- Once you’re happy with the position, take a long piece of masking tape. This is your “hinge.”
- Run this tape horizontally right across the middle of your graphic, from one side to the other. Make sure it sticks to both the graphic and your surface. This tape is the “hinge” that will hold everything steady.
3. Peel Halfway:
- Now, gently lift the top half of your graphic up and over the tape hinge.
- Slowly peel the backing paper off the top half of the graphic, exposing the sticky side. Don’t let the sticky part touch anything yet!
- You can cut away this peeled backing paper so it’s out of your way.
4. Squeegee Time (Top Half):
- Starting from the center (where your hinge is) and working your way up and out towards the top edges, use a squeegee (a plastic tool with a flat edge) to press the vinyl onto the surface.
- Use firm, even strokes. Overlap your strokes a little bit to make sure you don’t miss any spots. This step is crucial for removing air bubbles.
5. Remove the Hinge:
- Once the top half is securely applied, carefully remove your masking tape hinge.
6. Peel the Other Half:
- Now, lift the bottom half of your graphic.
- Slowly peel the rest of the backing paper off, exposing the sticky side. Again, be careful not to let it touch anything until you’re ready.
7. Squeegee Time (Bottom Half):
- Just like before, start from the center (where the hinge was) and work your way down and out towards the bottom edges.
- Use your squeegee with firm, even pressure.
8. Final Touches:
- Once the whole graphic is down, give it one more good squeegee over the entire surface to make sure it’s fully stuck and all air bubbles are pushed out.
- Slowly peel off the transfer tape (the clear or paper layer on top of your vinyl). Pull it at a sharp angle, close to the surface, to prevent the vinyl from lifting. If any part of the vinyl tries to come up, just press the transfer tape back down and squeegee over that spot again before trying to peel.
See? That wasn’t so bad! The hinge method for vinyl installation might seem like a few extra steps, but it gives you so much more control and a much better result. Don’t rush it, take your time, and you’ll be amazed at how professional your vinyl graphics look. You totally got this!